Sunday, June 17, 2012

Mug Rug using an Accuquilt Die in a Big Shot


OK, so here is my first "Video Tutorial"  don't laugh I was a little nervous but I think I got the information across.  Let me know what you think, good or bad, did I leave anything out or if you have a question. Thanks for watching!

"Mug Rug"

Materials:

     "Big Shot" die cutting machine
     big shot extended plates
     "Rose of Sharon" Accuquilt Die
       Available from "Sunflower Happiness" $37.00 shipping in July
     Accuquilt cutting mat 5in X 10in
     8 layers of Colorbok textured card stock 12in X 6in (Walmart) 
     Scrap fabric of choice
     Small amount of batting
     Heat N Bond Lite iron on adhesive
     Sewing machine
     Matching thread
     Rotary cutter and ruler
     Scissors
     Iron


Step 1: Watch the video to see how I used the Big Shot to cut out
the "Rose of Sharon" flower and petals. (unedited version)


So did you like the video? Libby always has the best timing.


cut a piece of fabric 6in X 8in and iron the applique where you
want, I put mine to the side so you would be able to see the
flowers while my cup was on the mug rug.  Do not use the iron
directly on the minky fabric, it is polyester and it will melt with
the iron.  I ironed the adhesive from the back and it was enough to
keep in place.  

 Next you want to sew it in place I used a zig zag stitch.
This is a look from the back.  Normally you would want to use a
stabilizer but the Heat and Bond Lite iron on adhesive was enough
to hold it in place.

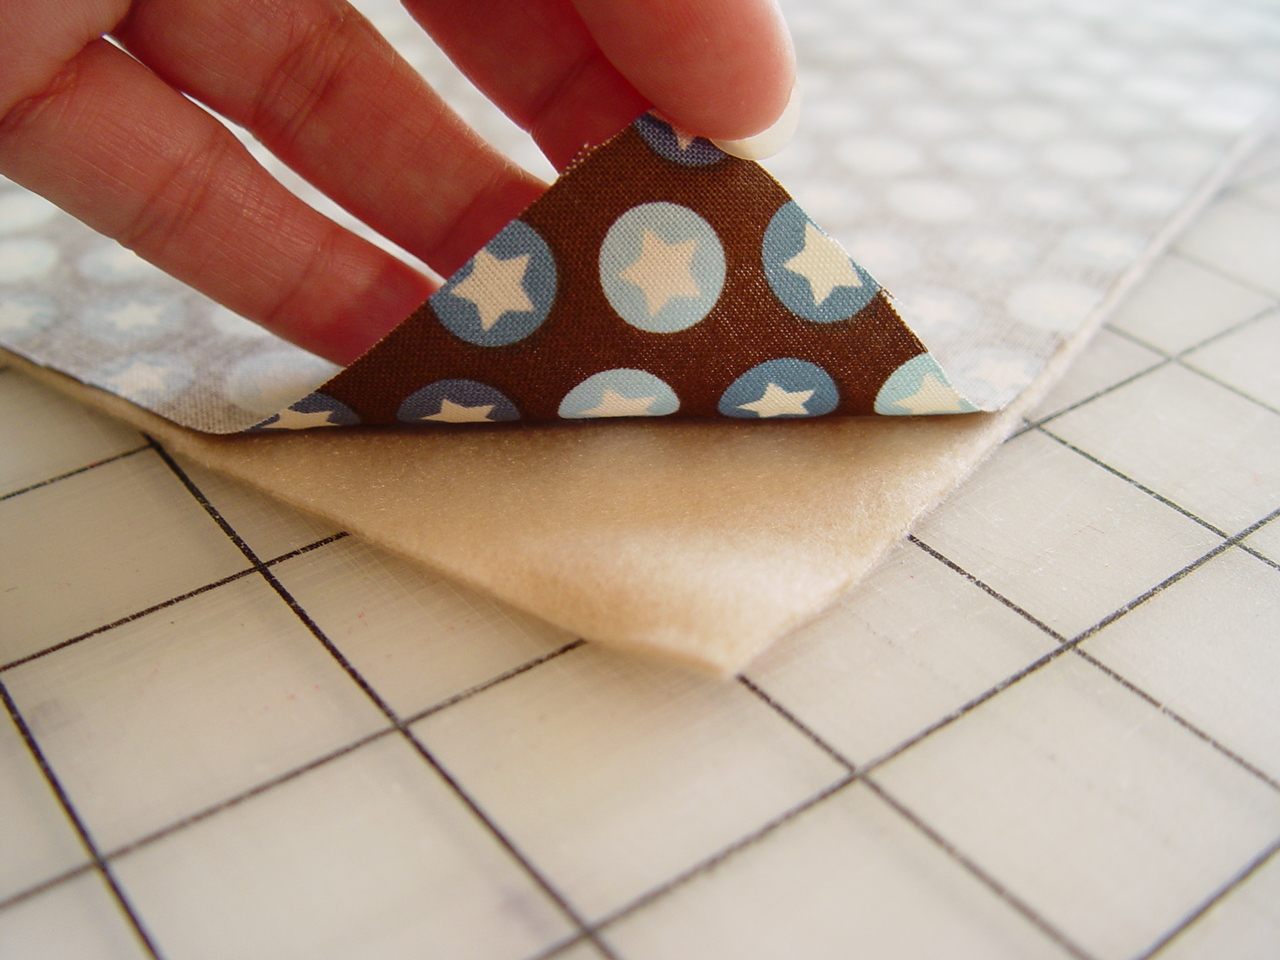
Make a quilt sandwich with the back fabric then batting
and the top and baste all layers together with a large stitch.

a peek from the back

Cut the excess off using a rotary cutter and ruler.


Add your bias tape around the outside using your method
of choice.  Approximately 30in of 2 1/2 in wide folded will go around.


now enjoy your Mug Rug with a refreshing beverage.


Monday, June 11, 2012

AccuQuilt Dies


What's New at Sunflower Happiness? Accuquilt dies! 

 I will be offering die cut shapes of fabric and felt on Etsy by this weekend.

If you have a request from what you see here let's talk.


Sunday, May 6, 2012

Banner Tutorial

"Halloween Banner"

The way I have it here it measures 8ft long.

Yes, its a Halloween Banner!  Designed by Sheri Berry at Sheri McCulley Studio.  I love Halloween and since I bought a whole bolt of these wonderful "Spook Alley" Halloween Banners, I thought I better get to Selling them.  There are many ways to put a banner together.   This is my way and you get to use a decorative stitch too.  Ok, here goes.


Materials:

     Panel "Spooy Alley"  P2877 Orange Costume Banner $8.50
          free shipping available at the end of this tutorial.
     Sewing Machine
     heat friendly Ribbon and cotton thread that match
     Heat and bond, either a 1/4 roll or 1/8 yard off the bolt
          cut in to (8) 1/4 strips
     Rotary Cutter and mat Ruler at least 20 in long to cut heat
          and bond if not on roll
     Iron and Scissors


Materials

I used the rotary and mat to cut the top of the banner pieces
3/8 inch from the print and the sides a little less then 1/4 in. from
the print,  you can also use decorative scissors to do this.


Cut your heat and bond into 1/4 in strips.  I used this to
keep the pieces in place on the ribbon while I sewed.  This also
 helped with spacing the pieces  

Use according to the directions to attach the heat and
bond to the top of each piece.

Peel paper from each piece and iron in place. I left 36 in of
ribbon before the first pennant and after the last for hanging.

I measured 1 in from fabric edge to fabric edge
Choose a decorative stitch.

then sew right down the middle of the ribbon

 
thats it!  hang and enjoy. Now get yours and be ready
for Halloween.  Always free shipping!


Friday, May 4, 2012

Delighted projects


Fat Quarters ready to go!


Table runner close up


Table runner close up on yellow block

corner view

Fits the buffet perfect

On the table and now it needs place mats


matching baby blanket

together

9in blocks with ruffle and ric rac 3 in border

and a fabric bowl for bread or tortillas!

I am making a diaper bag too, but i have to finish an order first.
I am currently refurbishing or completing a quilt that was started
by a friends mom who has takein ill and can't finish it.  I am
taking pictures and documenting the progress to show on a blog
when I am finished.

Wednesday, May 2, 2012

First Fabric Delivery

The First Fabric Collection is here!  Is it silly that I am so excited to see it face to fabric?  I love to just touch fabric and dream what to make.


At the door waiting for me when I got home.

First box to be opened.

AAHH Fabric so beatiful!!!

Next box.... so much fun

AAHHH more fabric!!

all the colors together make me so happy

my first cuts of fat quarters.  and now the sewing begins...

Sunday, April 15, 2012

Burp Pad


     I had an order for a Boy Diaper Bag this week and thought I would show how to make a quick burp pad to match the bag and wipe case.  I used Riley Blake 100% cotton fabric from the "All Star" Collection designed by "My Mind's Eye" 2009.  The fabric I used for the burp pad is the same fabric I used on the inside of the diaper bag.  I choose to use a fleece fabric because it is so soft, but you can use terry cloth or flannel too. 

Burp Pad


 Supplies:  Sewing machine
                Rotary Cutter, 6x23in ruler, 20x20in ruler (optional), Cutting Mat
                Scissors
                Choice of fabric 1 fat quarter designer fabric and fat quarter of
                   Fleece, Terry Cloth, or Flannel
                Thread to match
                Dessert Plate to make rounded edges.
                Marking pencil of you use light fabric make sure to get an air
                   erase one.
                turning stick


Fabric Choice
 

I layered enough for 2 burp pads

I used the 20 1/2 in ruler and the rotary cutter to cut out a rectangle
20 1/2 x 12 inches
 
all cut out

 
lay them right sides together


Use a marking pencil to mark an opening on one of the short sides
 
Center the dessert plate at each corner and cut with your rotary
or mark a line and cut with Scissors

  
Should look like this now
 
sew a 1/4 in seam starting at the opening mark
for turning and continue around to the other mark


Your opening should look like this, about 3 to 4 inches wide
 
use a turning stick inside to help make a crisp edge

Tuck in the edges about a 1/4 inch so they match the seams
and pin in place
 
use a 1/8in seam all around the edge of the burp pad 

Should look like this
 
and this


now your going to make stay stitches. Make a mark down the
center of the burp pad top to bottom and 3 evenly spaced
across

I used a white marking pencil so I could see the markings and
sew on each line careful not to go over the edge.

Sew down each line
 
All Done!!
 
I usually make girl baby items because I have trouble selecting
fabric for boys, but I am very happy about how this turned out.

It is a personal challenge for me to make boy items because I only
had one child and of course she is a girl.