"Halloween Banner"
| The way I have it here it measures 8ft long. |
Yes, its a Halloween Banner! Designed by Sheri Berry at Sheri McCulley Studio. I love Halloween and since I bought a whole bolt of these wonderful "Spook Alley" Halloween Banners, I thought I better get to Selling them. There are many ways to put a banner together. This is my way and you get to use a decorative stitch too. Ok, here goes.
Materials:
Panel "Spooy Alley" P2877 Orange Costume Banner $8.50
free shipping available at the end of this tutorial.
Sewing Machine
heat friendly Ribbon and cotton thread that match
Heat and bond, either a 1/4 roll or 1/8 yard off the bolt
cut in to (8) 1/4 strips
Rotary Cutter and mat Ruler at least 20 in long to cut heat
and bond if not on roll
Iron and Scissors
 |
| Materials |
 |
| I used the rotary and mat to cut the top of the banner pieces 3/8 inch from the print and the sides a little less then 1/4 in. from the print, you can also use decorative scissors to do this. |
 |
| Cut your heat and bond into 1/4 in strips. I used this to keep the pieces in place on the ribbon while I sewed. This also helped with spacing the pieces |
 |
| Use according to the directions to attach the heat and bond to the top of each piece. |
 |
| Peel paper from each piece and iron in place. I left 36 in of ribbon before the first pennant and after the last for hanging. |
 |
| I measured 1 in from fabric edge to fabric edge |
 |
| Choose a decorative stitch. |
 |
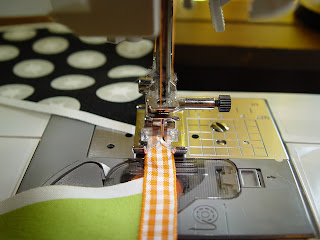
| then sew right down the middle of the ribbon |


